Motorcycle Photography Carlisle Cumbria
Harley Davidson Sportster 883
I’ve said it before, automotive work is certainly amongst my favourite genres, and I really don’t mind what it is I’ve been asked to photograph. Huge lorries or the smallest car, it’s all good. But, I do enjoy shooting interesting or challenging vehicles the most. And oddly enough, motorcycles can be every bit as challenging as a monstrous truck.
There’s a number of things to bear in mind with motorcycles, such as an abundance of chrome, dark recesses, chrome, an awful lot of detail, chrome, a lot of curved surfaces and lots of chrome.
Huge amounts!
Over the years, I’ve come up with all sorts of techniques to hide my reflection from highly chromed motorcycle parts, although most times, good light positioning will sort it for you. Because light travels in straight lines, it’s fairly easy to spot if you’re about to run into trouble whist setting the lights.
Rule of thumb: If you stand at your camera position, and you can see the bulb of your light source reflected in the chrome. Yeah, you’re going to have an issue.
Right, I’ll get off my soapbox….
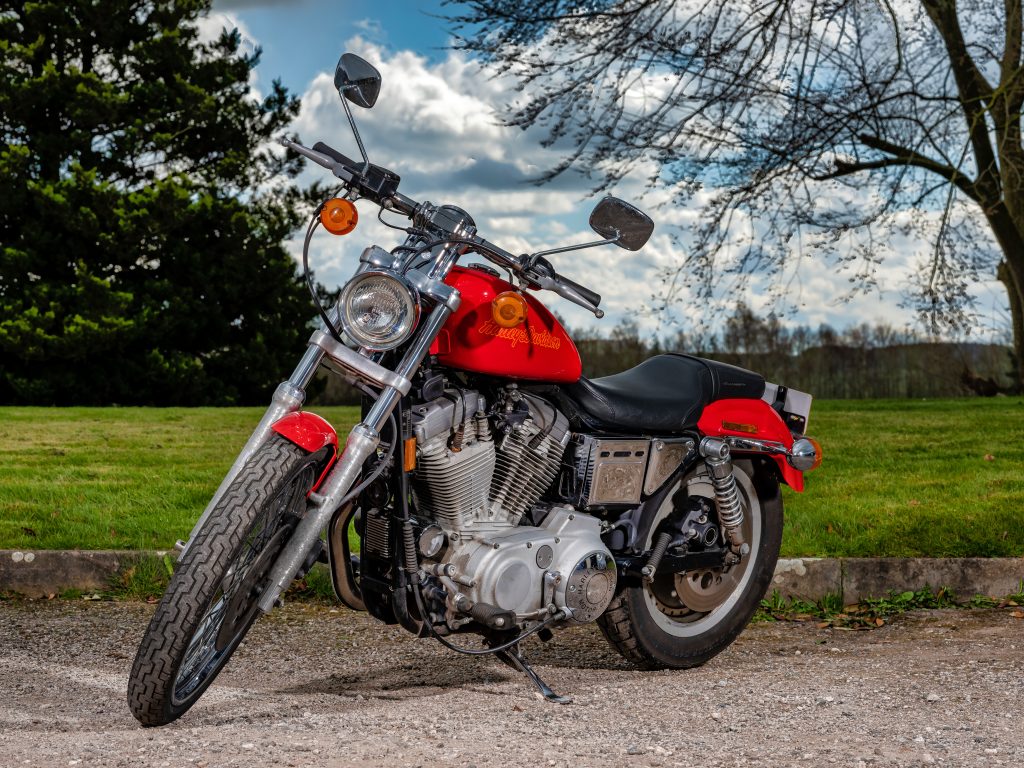
So, lets go back to the above image, and a little back story. I was contacted by a classic vehicle auction company I work with, and they requested I travel up to Carlisle to photograph a Harley Davidson Sportster 883, and to be fair, it had a lot less chrome than some I’ve photographed. The day had intermittent sunshine, but was fairly cold for early April, and there was a definite risk of showers. So, I would need to work quite quickly.
Frame right, I placed an ELB500 firing through a 65° reflector at an output of 4.0 (Equivalent to 100Ws). Even though the day was really quite bright, I was able to place the lights pretty close. Certainly a lot closer than I can get away with when photographing a car. The reflector was pretty much at head height, and angled down towards the centre of the bike. You can see the shadow of the indicator on the tank to get an idea as to the angle and placement.
Frame left, and in line with the body of the bike, I placed a second ELB500, again firing through a 65° reflector at an output of 4.0 (Equivalent to 100Ws). The shadow from the front wheel gives away the placement of both lights.
My standard exposure was 1/160th sec f13 at ISO200. This gave me an under exposure of the ambient scene by about one stop, which would make the bike the focus (Oooh, a pun!) of attention, as it was lit to bring it up to the correct exposure.
I mention “standard” exposure, because this is my baseline for a set of HDR images, ensuring I can get the best possible dynamic range from the finished image. Using the camera manufacturer’s app, I adjust the ISO between exposures, to get a five stop range, which is then initially blended in Lightroom.
Why am I using the ISO for a set of HDR images? Well, if I use the shutter speed, it would affect the ambient exposure, as opposed to the flash exposure. So the sky and background would vary between exposures, but not the bike and foreground. Not only that, but I would soon get beyond the xsync limit.
Using the aperture is definitely out. Yes, it would affect all of the image regarding both ambient and flash, but we would have some pretty funky goings on with the depth of field/focus etc.
The ISO affects the image with both ambient and flash, and the blending tends to mitigate any problems from a noise point of view. Although we only get as high as ISO800 anyway.
The camera settings were 1/160th sec and f13, with five exposures taken at ISO 50, 100, 200, 400 and 800.
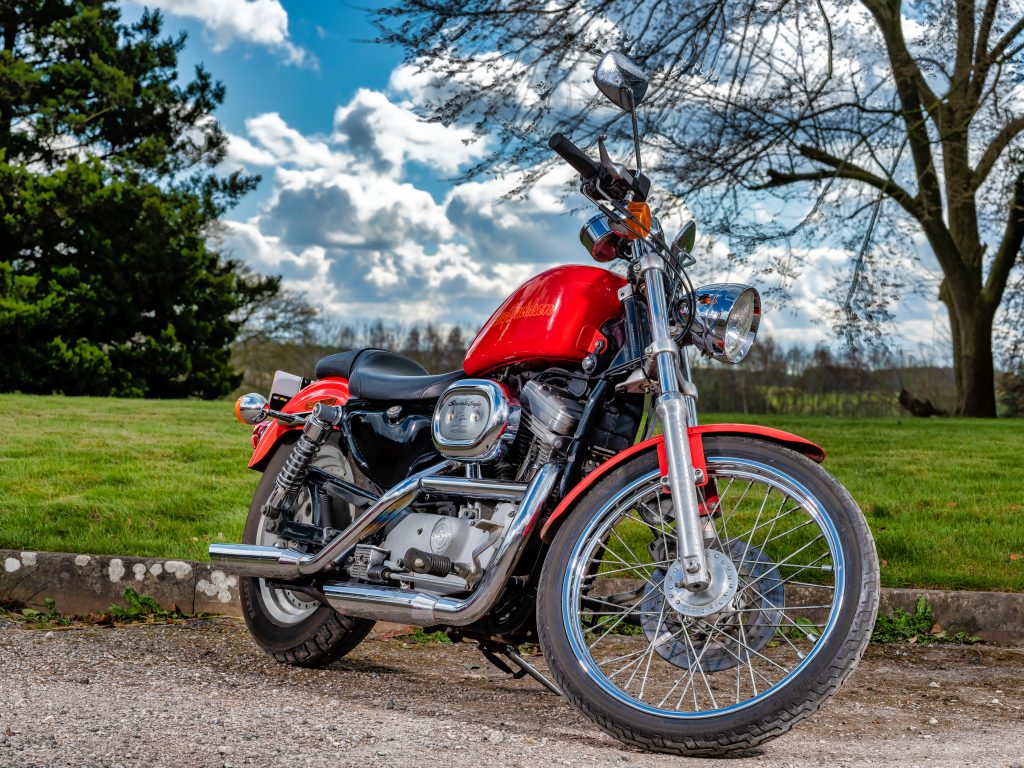
The frame left light was moved further back, so it could now be directed straight on to the side of the bike. There’s a little more chrome here, and this is where I pay a little more attention as I take up position at the camera. I check to see if I can see the reflector in the chrome. Some specular highlights are welcome, as it shows the shape and texture of an object. Too much can be distracting, and with highly polished surfaces, it can destroy detail.
The frame right light was moved a little more towards the camera, to ensure to was aligned with the body of the bike. Both lights were at similar distances and power outputs to those used in the first image. By having the light’s straight on to the side of the bike, or head on to the front, it reduces the risk of larger specular highlights. Light travels in straight lines, so when reflected by a polished surface, the reflected light heads back towards the source, rather than the camera. Obviously, with curved surfaces, which is pretty much anywhere on a motorcycle, there will be smaller highlights along the curves or convex areas.
Camera setting were the same as before, and five images were taken for blending.
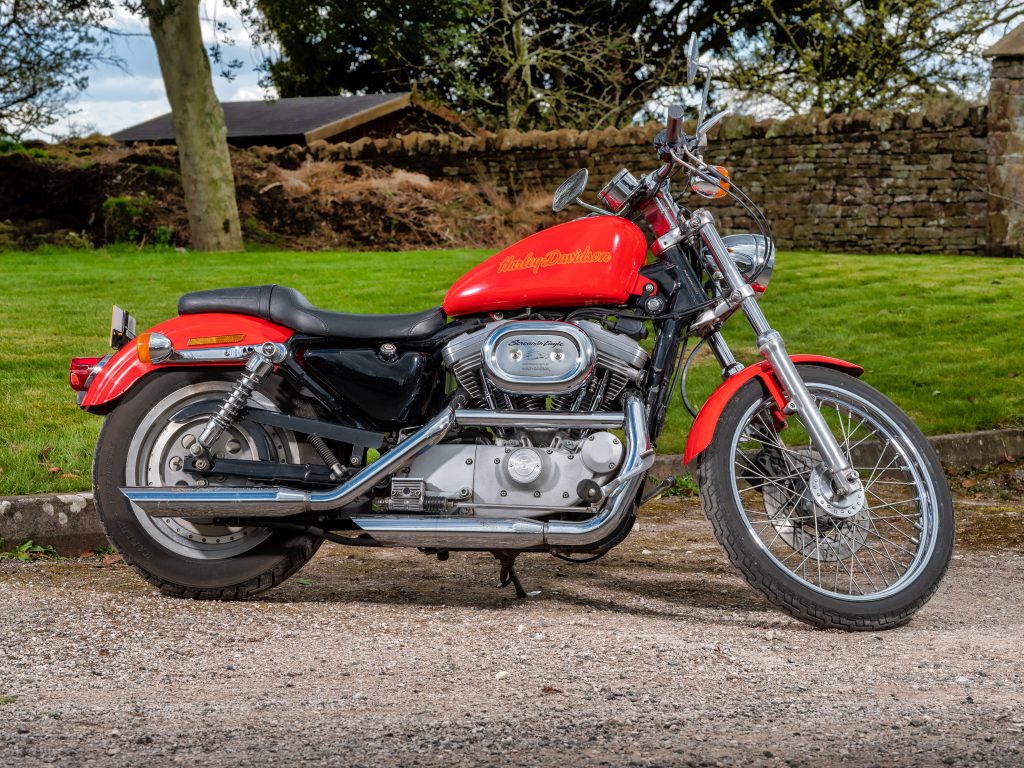
As the side of the bike is pretty much flat on to me, I had the lights either side, pretty much at 45° to the bike. Again, this reduced the risk of unsightly large highlight blowouts.
Lights and camera at the same settings.
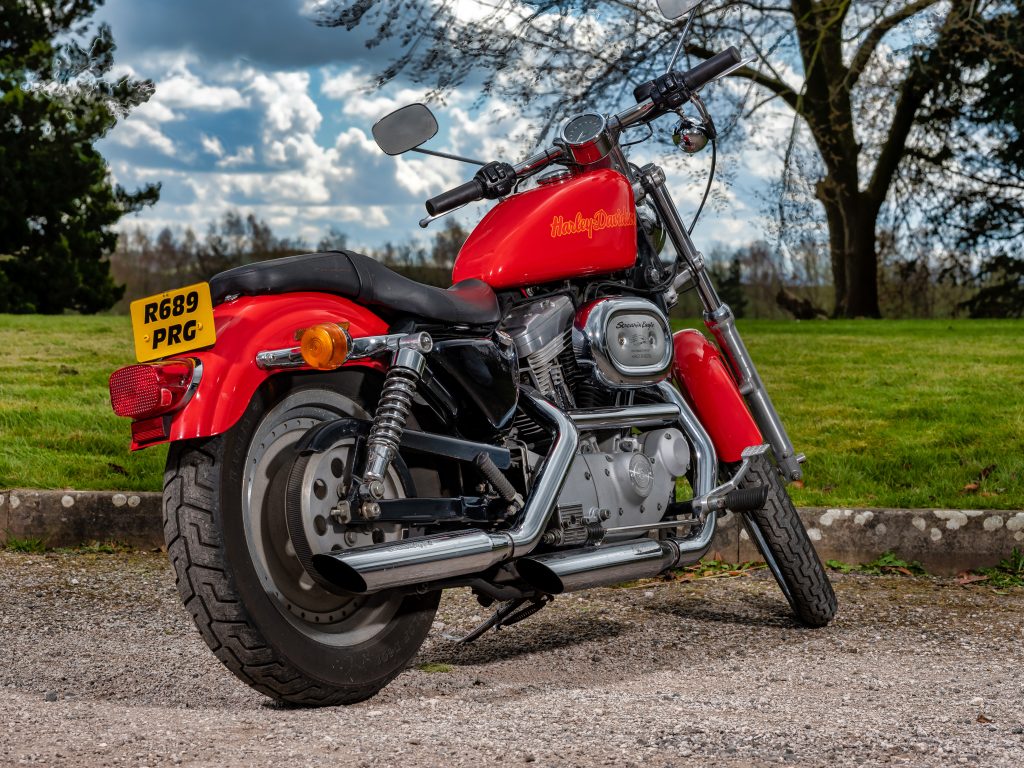
Whilst this is the back of the bike, it’s treated the same way as the first image. Having said that, there is a lot less chrome up front in the image, so much less likely to be caught out by flashback etc. However, on the full resolution image, on the air filter cover, you can see two specular highlights. And if zoomed in, I can make out the two lights and some suspicious dude in the middle. I’m fine with the two small dots of light, as they don’t particularly distract from the image.
Same settings again for both the lights and camera, and five images taken.
There are occasions where placing lights as carefully as possible just doesn’t cut it. Sometimes you just need to figure something else out. I once ended up with a shower curtain stretched out, firing the keylight through it. I had to lie on the floor, and shoot under the curtain. The curtain created softer white highlights over all the chrome high points, but there was no reflection of lightstands or photographer, and the highlights gave a nice appeal to the intricate engine and exhaust work that had been chromed.

This was the image from that occasion.
Maybe a story for another time.
My automotive portfolio can be found here.
My lighting kit came from The Flash Centre.
