As a commercial photographer, I often find I’m switching backgrounds at a fair rate of knots. White, black and grey being the usual suspects. Not really an issue with most things, but anything that needs to be wall mounted is definitely a challenge.
Unlike swapping a backdrop, the “wall” can become peppered with holes in a very short time. And how many boards do I keep already painted, so as the time required to switch over doesn’t include drying time for the paint?
Well, to be honest, I cheat. Yeah, who’da thought it, eh? I use one MDF sheet, and staple coloured paper to it. That’s basically it. It also means I can use wallpaper if necessary, and stapling it stretched tautly would work the same. So, after shooting on white, I simply remove the light, staple black paper, and refit the light. On the light fittings that don’t weigh a vast amlount, I find I can pull the power cable through the hole and clamp it tight from behind, negating the need to drill further holes to fix it to the board. Obviously, if it has decorative screw heads, or the fixing screws are visible, then I have to fix it in place using screws. But I don’t need to do that anywhere near as often as I used to, and it prolongs the life of my “wall” immensely. Not to mention the fact it reduces the time needed to switch the background and fitting by about 50%, sometimes more.
So, that’s how the background is sorted for wall fixed items, so lets move onto the lighting.
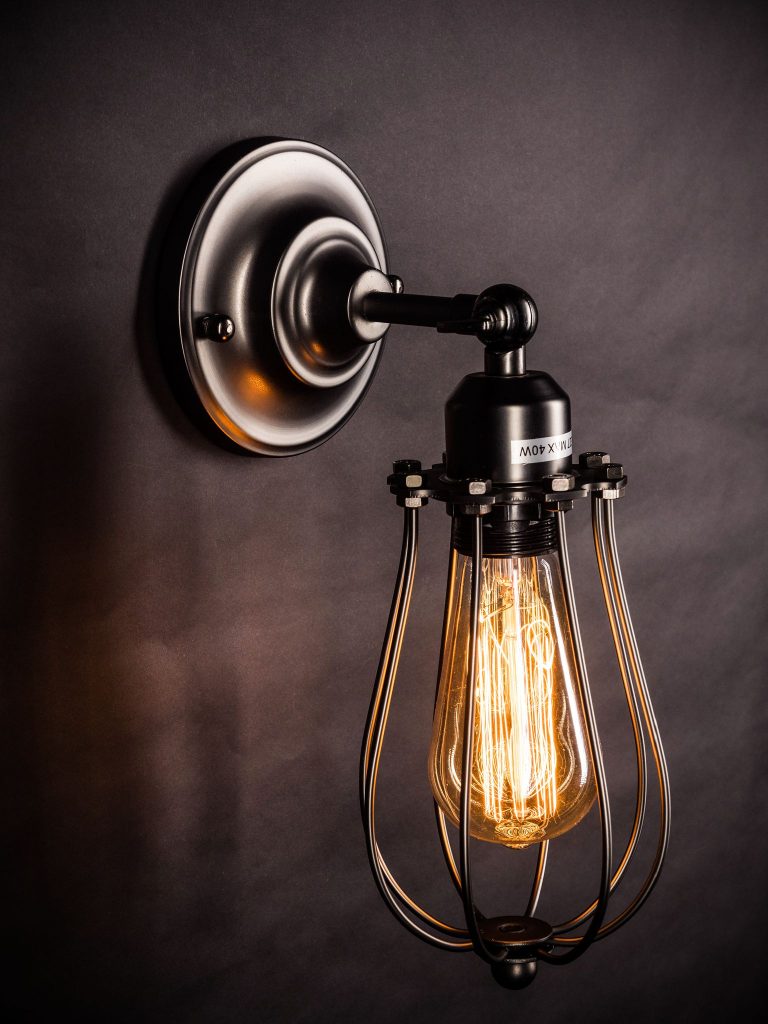
As usual when photographing lights, it’s not just the object that’s being sold, but the ambience and lifestyle it projects. This particular light had a very ornamental filament bulb, consequently giving a very warm glow. Quite often, to combine both the ambient light provided by the bulb, and the flash light provided by the Elinchrom studio heads, I have to use a quite slow shutter speed, as explained here.
On this occasion, the bulb is actually quite bright, due to the lack of shade. Shooting at an ISO of 400, which I often do in these situations, I found I was able to use a shutter speed of 1/160th sec, which is quite different from the previous post.
I placed an Elinchrom ELB400 immediate frame right, firing at an output of 3.0 through a 90×90 folding Lastolite softbox.
Again frame right, and a little deeper into the frame, I placed another ELB400, firing at an output of 4.0 through a 30x140cm honeycombed stripbox.
Olympus E-M1 mkII 1/160th sec ISO400 12-40mm f6.3
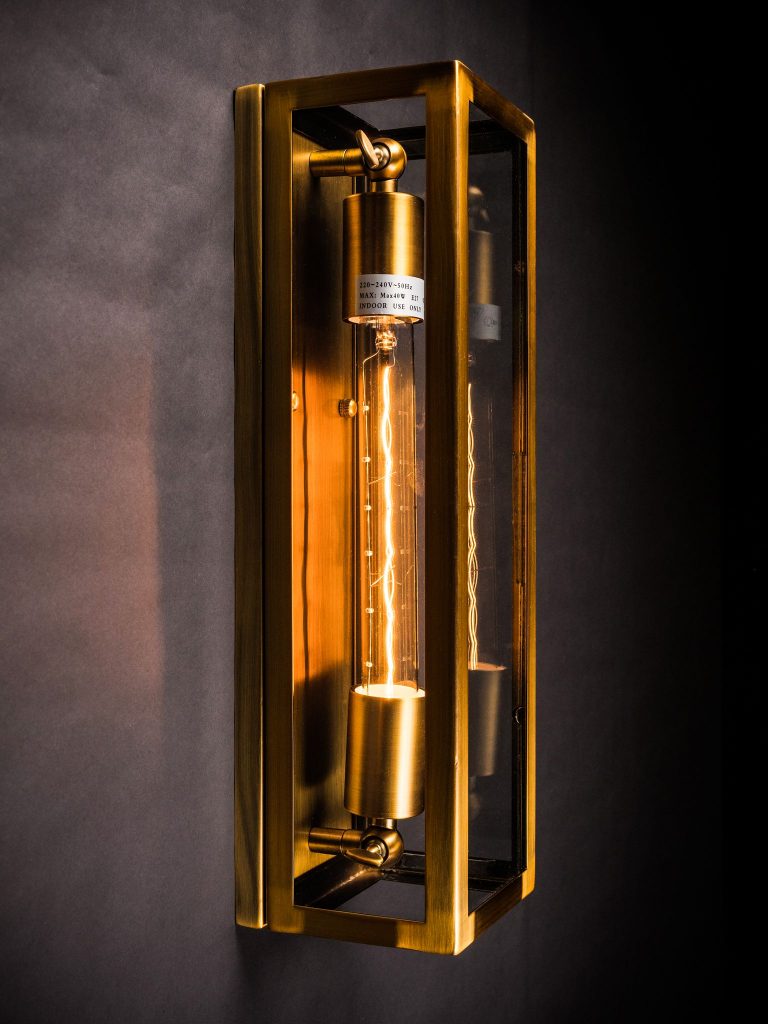
This particular image is constructed in a similar maner, although it was actually shot with the board flat, and the lamp simply laid on top of it. The image was rotated in post to make it appear a vertical wall. Same principal as above, really, although this bulb wasn’t quite as bad, and I used a shutterspeed of 1/60th to compensate.
Okay, for the purpose of describing the lighting, you will have to imagine the image as I originally took it, which of course was in portrait mode. The top of the lamp is frame left, the bottom of the lamp is frame right, okay?
So, frame left, I placed an ELB400 firing through a 80×80 folding softbox, barely out of frame, and angled slightly upward so it feathered across the paper, but lit the lamp frame. It was set to fire at an output of 3.0 due to the proximity.
Frame right, I placed a silver reflector disc, held in place on an arm. It was angled slightly downward to reflect the light along the top of the lamp (seen as the front of the lamp in the image above).
Just a simple single head setup.
Olympus E-M1 mkII 1/60th sec ISO400 12-40mm f6.3
Both are quite simple setups, but effective.
Lighting courses are available through Focal Point
